Social Media Icons

Saturday, August 30, 2014

New Hair for September 2014!

I decided it was time for a big hair change... so I went to my hair dresser, Laura and here's what we did!

I started with my long hair and faded out blonde.


So since it's almost fall I decided to go darker. I've been wanting to do a cooler shade of brown but didn't really know what else to do. So I talked with Laura at Truly You Salon in Arvada (yes shameless plug, but they really are awesome!) and we decided on a shorter asymmetrical bob with layers for lots of fun and movement. Here's the result... don't worry more front shots to come :)


Monday, August 25, 2014

First Ever! Face Of the Day

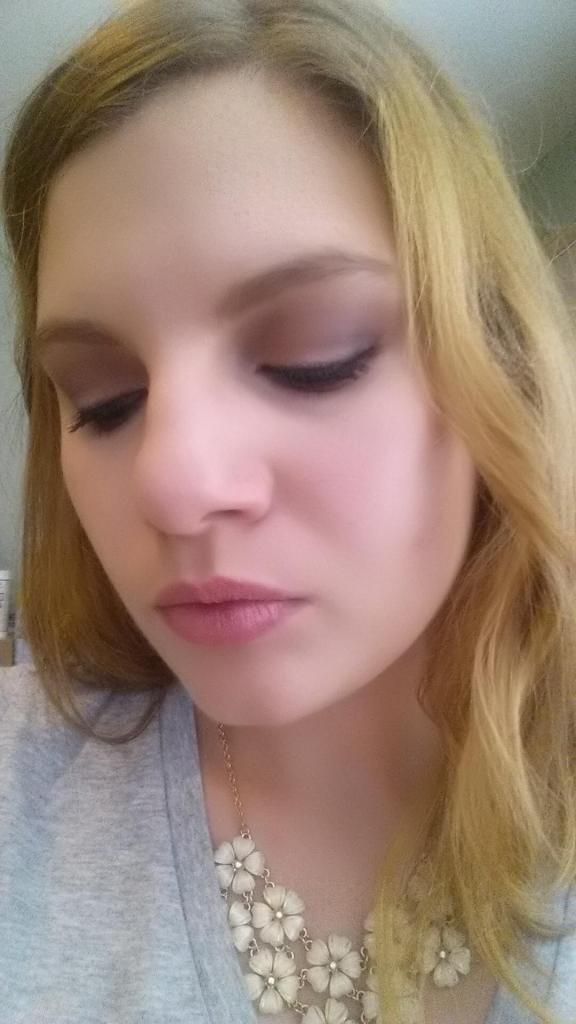
So this was actually yesterday... but the internet has been down at my house and will be until Friday (at least). It's so frustrating! But here (a day late) is my Face of the Day (FOTD).

I even curled my hair for you all! :) And that never happens, let me tell you.

I used my IT Cosmetics foundation (see more info here) and Naturally Pretty eye shadow palette for the eyes. I thought I'd try out the purple colors as I never do purple. And I don't know if you can tell but I used the navy blue shadow to line my eyes... kind of cool. And really crazy for me. Then a pinky nude lipstick to top it off.

What do you all think?


Tuesday, August 19, 2014

Foundation 101: Evaluating your Skin Type

The ultimate goal with foundation is to even your skin tone, cover imperfections, and to look like you don't have any on. This is a daunting task for any product and for those buying it!

I have been wearing foundation since I was around 15 and in all those years, I have yet to find one that I think is "magic" and hides all my flaws. However, in these years I have also learned a lot about selection and application and how to use these to provide the best coverage possible. 

The good news is that there are all types of foundations out there at all different prices. So I'm going to chat about my experiences, what I've tried and what I thought. Also I'm going to include some links in this post with more information I have found useful.

This week in Foundation 101 we will discuss evaluating your skin, so let's get started!

First, I think it's important to evaluate your skin and your needs. For example; I have a fair, neutral skin tone, with combination skin that gets oily in the t-zone throughout the day, and I have uneven skin tone, blemishes, and black heads. Knowing this about yourself can help you get started on finding the best foundation for you. 

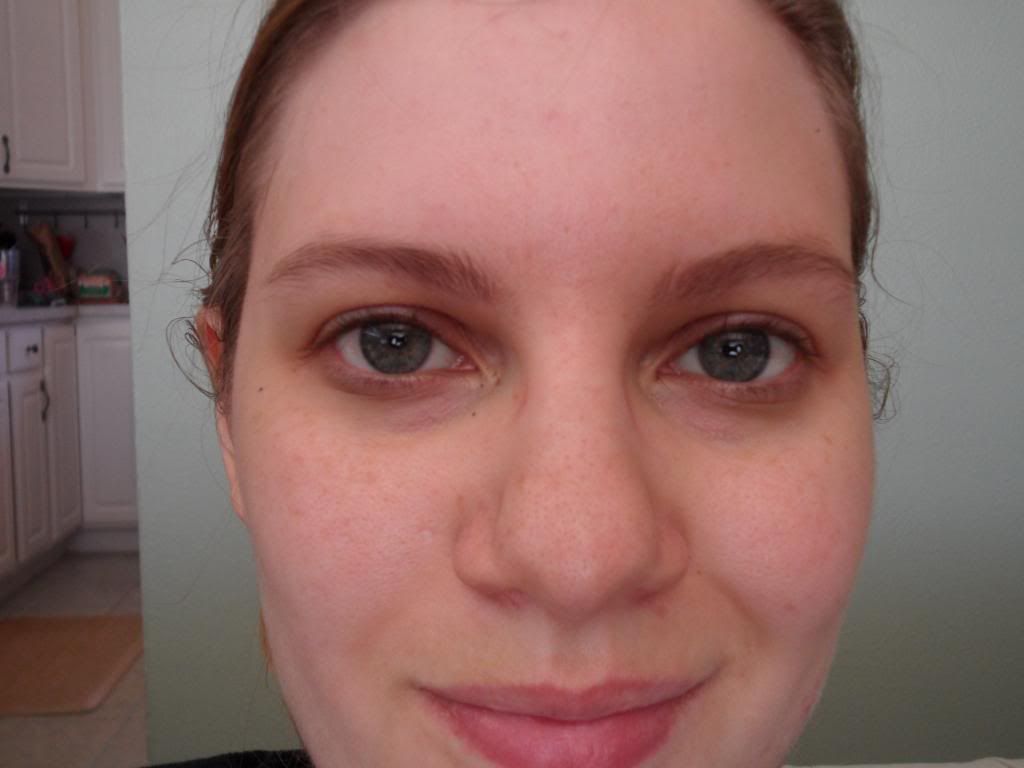
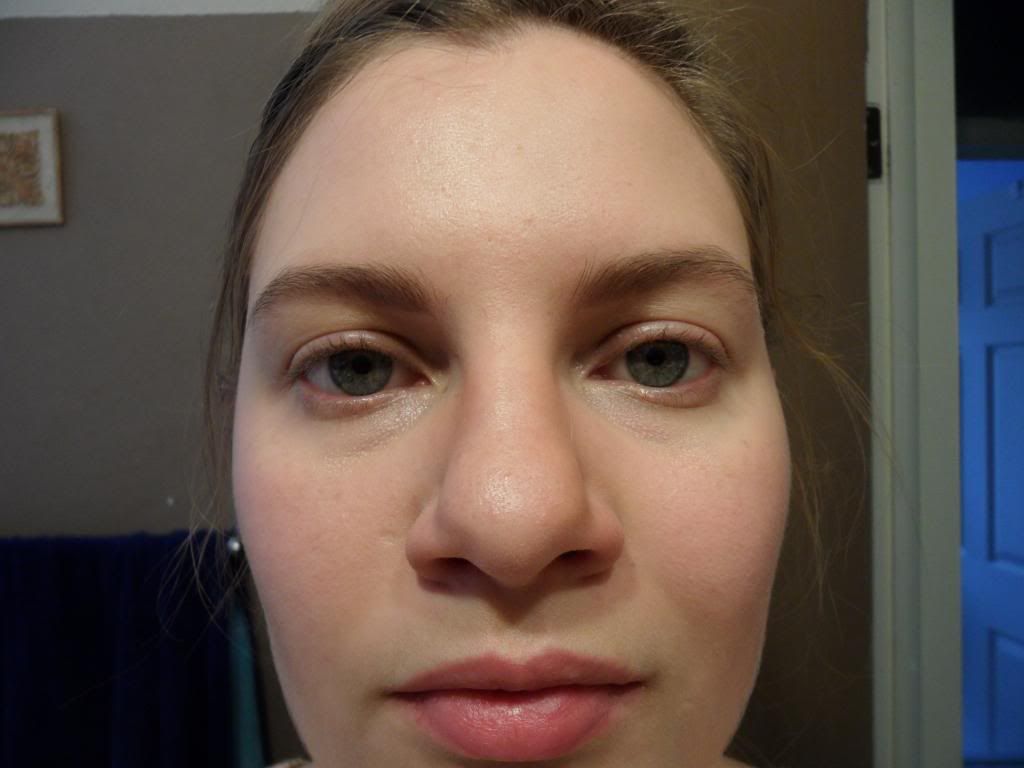
To find out you will need to study your face in the mirror with no makeup on (all fresh-faced!). Wash your face and wait about 15 minutes for your skin to calm down from the hot water and face wash. Then look at the descriptions below and make note of what you see. And for motivation here is how I would look if I was evaluating my face :)


AHHHH!!!! Ok now that the screaming and shock is over, let's take a closer look at our skin.

Skin Tone
Your skin tone can be Warm, Neutral, or Cool. What this means, is the undertone of your skin will lend itself to a certain tone. For example warm tones tend to have a yellow undertone, whereas cool tones tend to have pink. Neutral tones are just that... neutral they don't go pink or yellow.

There are a million quizzes and charts out there to tell you what you're skin tone is. I liked this easy chart at Beautylish or there's this Foundation Matrix which is more complicated but pretty cool. It will give you foundation suggestions which you can rate and edit by price, brand, etc... But you can use whichever method you like best or you can go to a beauty counter/store to have a makeup professional tell you. 

Knowing your skin tone can help you select a foundation which is most likely to match your skin. As I am neutral, I've found that I have to watch out for foundations that are too pink or too yellow and that helps me narrow down my selection.


Skin Color
Ok, so we should all know the color of our skin :) But when shopping for foundation you really need to look at yourself  in the mirror and evaluate the color you are and will need. 

As an example I am pretty fair skinned, but I used to buy foundation that was either too light or too dark and when I put it on my face it didn't blend. The darker shades left a very visible line and the lighter shades made my face look like it didn't belong to the rest of my body.

So I suggest always sampling the foundation you plan on buying. Also, check your wrist color compared to your face! I know we always test colors on our wrists, but let's be honest people our wrists do not get as much sun as our face and can run lighter! So it's best to test foundation on your face if possible - Ulta and Sephora allow this. Also Ulta and Sephora will take returns on foundation if the color doesn't match once you get it home.

Next, think about your neck and chest and how they relate to the color of your face. If your neck and chest are tanner, or paler, or whatever, you want to think about matching your foundation to these areas as well so your face doesn't look disconnected to your body.

Also, be aware of seasonal changes. In the summer we tend to get darker and in the winter lighter. So be prepared to have to buy more than one type of foundation a year :)


Skin Type
Again, a million quizzes and chart are out there to help you determine this. But I found this one at Fitness.com did a pretty good job and this Chart is nice and simple. 

I have combination skin, which means I get oily in my t-zone (nose, chin, forehead) but I'm pretty normal everywhere else. This helps me determine the foundation formula that will wear best on me.

We will discuss foundation types in the next Foundation 101 installment, however, hear are a few tips.

Normal to Oily skin can handle mineral and powder formulas better than dry skin. Dry skin can do well with extra moisturizing formulas like a BB/CC Cream or a mouse. Most skin types do well with a liquid formula. And tinted moisturizers are great for normal skin types. But like I said, more about this later!


Skin Issues
Finally, it's good to think about what skin issues you have and what you can do to cover them up. 
Skin Issues you may want to think about are:
  • Rosacea/Redness
  • Uneven Skin Tone - If you have darker and lighter areas
  • Dullness
  • Blemishes/Acne
  • Blackheads
  • Skin Texture - bumps, scars, acne scars, etc...
  • Pores
The thing to remember, is that foundation is just that, the foundation. It won't cover everything and that's ok, that's why they make concealer! But if you do have some of these issues you may want a more full-coverage foundation versus a light coverage tinted moisturizer. But again... we'll get into that next week.

So to recap, evaluating your face gives you the knowledge to go out and find the color and type of foundation that's best for you. I hope this introduction into evaluating your skin has been helpful. Stay tuned, next week we'll talk about the different formulas of foundation and what skin types they are best for.

...And... Don't forget to follow me on Twitter @amberbutbetter for post notices, and my little quips on fashion and beauty!


Friday, August 15, 2014

Get The Look: Classic Neutrals

Get The Look: Classic Neutrals


Ok all! I love this Get The Look so much, I might have to go out and buy this stuff!

I have been loving the peter pan collar trend, although I don't own any pieces. I think this top is the perfect mix of the trend and a sophisticated classic style. 

I thought the off-white/khaki pants made the look lighter and more summer-y and also worked nicely with these awesome shoes! So, I do own these shoes, which makes me want to go make this outfit happen all the more :)

Then to bring it all together I thought the gold and black earrings added a nice touch. And just because I'm thinking of bringing out my similar Guess handbag, I thought I'd add it for good measure. 

So let me know what you think of this classic neutral look!

Tuesday, August 12, 2014

Oh Those Eyebrows!

Oh eyebrows, "the frame of your face", they can make or break your look. And I don't know about you, but they are damn complicated to figure out! :)

I spent most of my teenage years over plucking and even shaving my eyebrows into a more "desirable" shape. But more recently I've decided to stop plucking and let my eyebrows grow back in. I've been doing this for about 9 months now... don't worry I still pluck the unibrow (no Burt here!) but overall my brows have filled in nicely.

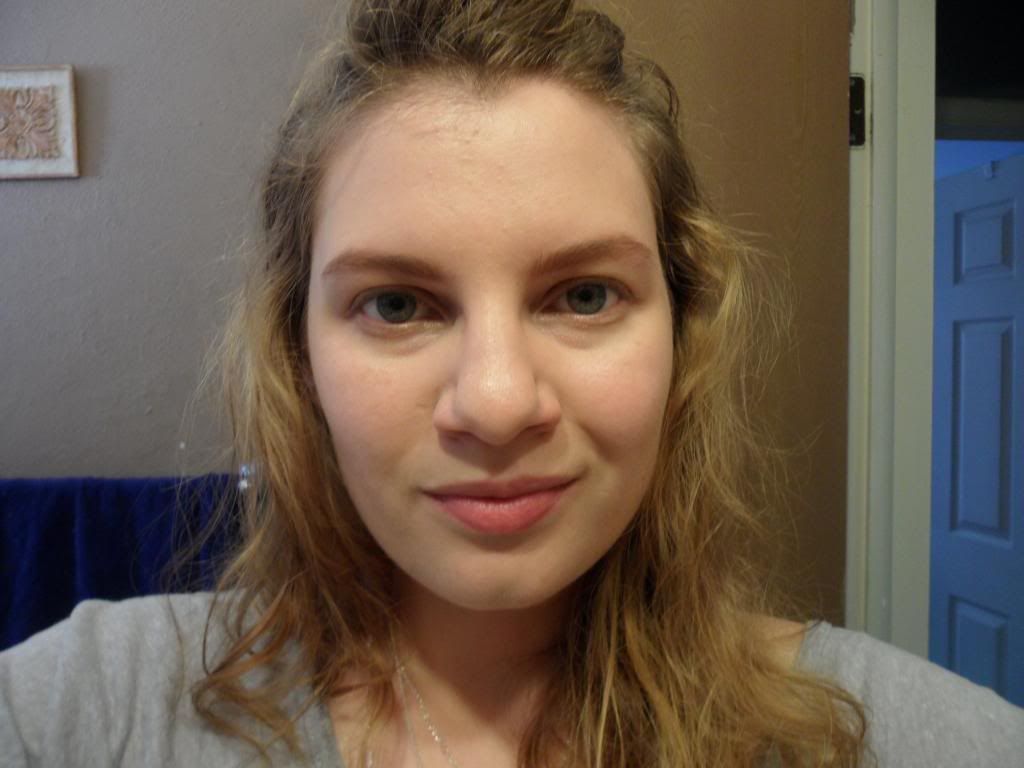
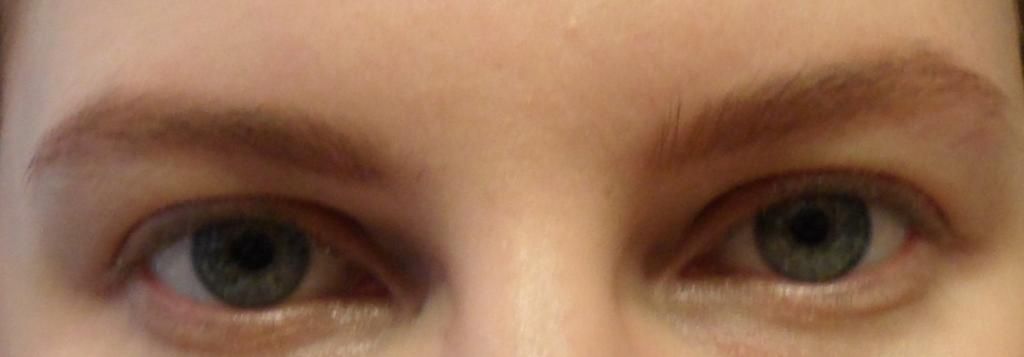
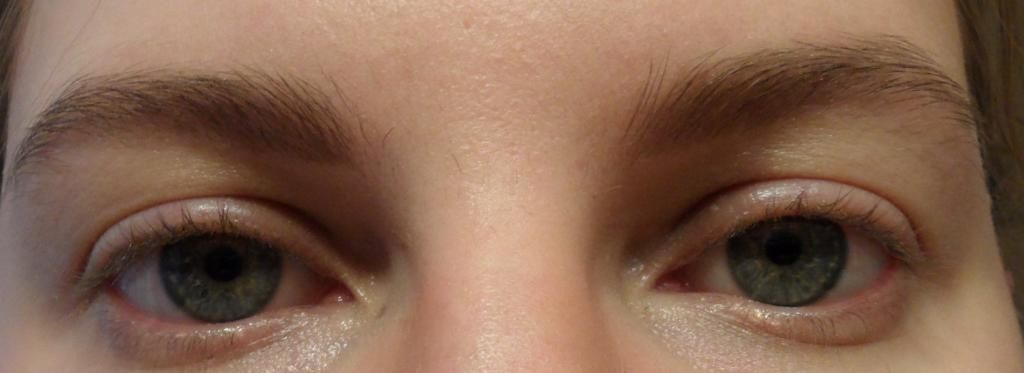
The hard part is now where do I pluck? Still working on that, I might have to go to a professional... but enough of this, back to eyebrows. So here is a picture of my brows (and my face), plain and bare for the world to see! Eek...


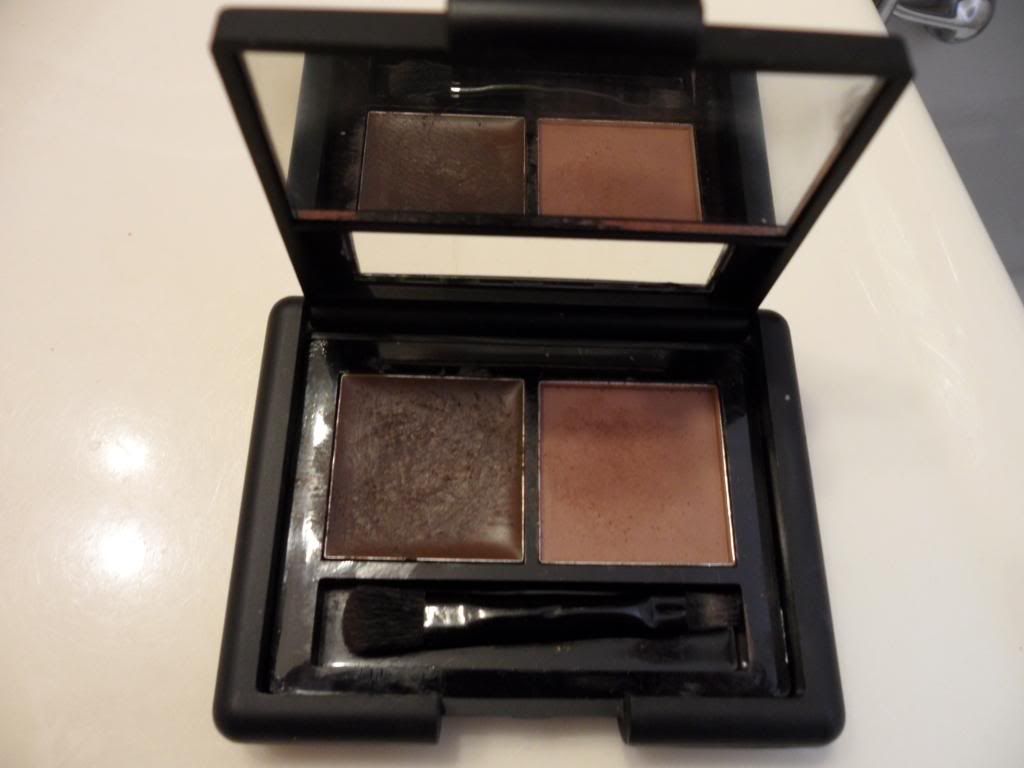
To fill in where I just don't have brows and to help define my shape I use a little help in the form of brow powder or wax. These products help to fill in any sparse areas, give, a little more structure, and give you the shape you want.

So I use the Elf Brow... for this and here are my steps for both the powder and the wax formulas.


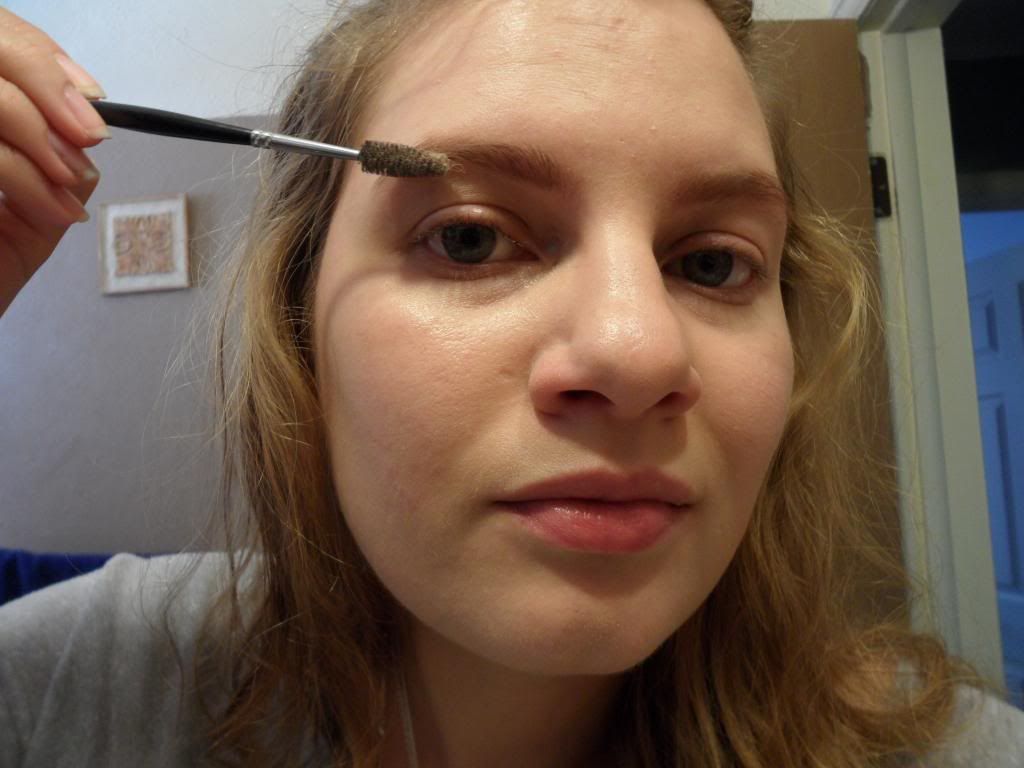
First, use a spooly brush to your brows up and into the general shape you want.

Powder - good for a softer look, a quicker application
I prefer a angled shadow brush or a small thin shadow or eyeliner brush to do this. Take some of the powder onto the brush and draw the line you want on the bottom of your eyebrows then brush/push the shadow up into your brow so it's not such a harsh line. Then fill the brush again and draw a line for the bottom of the tail end of your brow and again push up and fill in the top portion of the tail. Then you can fill in the main top portion. Go back with any product where needed and be sure to define the arch.The key is to make sure that you don't over use powder, just use enough to define and fill in.


Wax - good for a more real and defined look, takes a little longer
I prefer to use a thin flat liner brush. Start, by putting the wax on both sides of the brush and draw a line to define the bottom of the main part of your brows. Do this in little quick lines to keep it from looking too harsh. Use the leftover product on your brush to draw in little hairs to fill in the main section of the brow. Then fill the brush again and define the bottom line of the tail or your brow and the arch area top and bottom, again with short lines. Then use the leftover product to again fill in the sparse areas. I will also sometimes draw a line at the top of the brows if I feel they need some extra definition.


Last, brush through with the spooly brush up and into place. Again this will soften any lines.

Below is a comparison of my naked brow, shadow brow, and wax brow. I hope this tutorial helped and good luck with your future eyebrows!


Foundation 101: Foundation Types

Well now that we know our skin color, type, tone, and issues (and if you don't, check it out here!) we can look at what foundation type will work the best to cover it up!

We'll take a look at coverage, texture, and finish - this is definitely a post where comments will be beneficial. Because let's be honest I have only tried so many products and for my skin, so your opinions will help others! OK, let's get this party started!

Small disclaimer... as I am writing a cruelty-free beauty blog I will write about the cruelty-free brands I've tried and use and will not recommend non cruelty-free brands. However, all comments about all brands are welcome! Thank you.

Coverage
Well, basically there are light, medium, and full coverage foundations. And often you can make a light, a medium coverage or a medium, a full coverage by applying more than one layer.

  • Light coverage is good for those without many Skin Issues or if you're having a particularly good skin day (which we all pray for) and only need to even out the tone a little. It's good for aging skin, where heavy products can settle into lines and wrinkles. And finally, I like light coverage for the summer months when you're going to be outside but you don't want a full face of makeup on.
  • Medium coverage is more of an all around coverage I think, it can be great to cover up more Skin Issues, even out tone and help with skin texture.
  • Full/heavy coverage is hard to find, even if the product says it on the packaging. However, these products are good for more noticeable Skin Issues and/or for special occasions when you want nothing to move or go wrong (wedding or prom). 
As I said before you can build up these products usually so if you find a light coverage that you love but you need a little more coverage one day. Just apply the first layer, let it dry for a minute or so then apply another layer to the areas you need a little extra and blend. 

Also the heavier the coverage the more blending you will need to do to make sure it doesn't look like you've caked it on your face and blends into your neck, ears, and hair line. More info on application next week!

Different products may have different coverage in multiple formulas, so ensure that you're always reading the packaging. For example you may find a light coverage and medium coverage CC cream, or a light and full coverage powder. 

Finishes
Different types of formulas offer different finishes. So watch the labeling as your purchasing your foundation. Some popular finishes are:

  • Dewey - gives skin a slight glow and/or shine. Best for normal to dry skin and some aging skin. Those with combination and oily skin may want steer clear as it can exacerbate the shine already caused by the oil, but not always. This can look more natural than the other finishes.
  • Matte - This is a flat shine-free finish usually good for those with oily to combination skin and those with acne. Can often be a full coverage formula. More often achieved with powder. Not usually good for dry or aging skin as can make skin look duller.
  • Light-reflecting - Although this can be combined with a dewey labeling it more often than not is a little more light-reflecting. This can be great for dry dull skin. I would suggest caution with other skin types.
Types of Foundation
Oh the fun! There are so many types now-a-days, even I who love makeup and where it all the time and read the blogs and watch the vlogs... I was surprised by the sheer number while researching for this blog. So although, I'm going to try to get to all the big ones and ones I've tried, I may miss some and I apologize but again, feel free to comment and let me know if you like (or hate) a type I've missed. Well let's dive right in!

- Liquid Foundation - 
The original (at least in my mind). Liquid comes in just about every brand, coverage and formula you can think of. Which is awesome for the wallet, variety of finishes, and color selection. I know it can get a little overwhelming though.

Liquid foundation is good for most skin types as you can find oil-free for oily skin oil-based for dry skin, long-wear, light-reflecting for dull dry skin, etc... Also it's acne prone skin as it isn't usually so thick that it clogs your pores. Again, just read the labels and try them out to see which one works for you. And can be any finish.

I currently use a light/medium coverage foundation from IT Cosmetics which is awesome! It pretty much just looks like my skin but better when I'm wearing it and has build-able coverage for those areas I want to hide. It is definitely not full-coverage though.

- Cream and Whipped Foundations -
Cream foundations are usually similar to the liquid foundations in color selection but they offer a little different texture and finish.

Cream foundations tend to be more moisturizing so they can be good for dry skin. Whipped formulations tend to be lighter on the skin than their liquid counterparts and may be good for aging skin. And I would say these often come in a matte finish.

- Tinted Moisturizers -
Tinted moisturizers I think are great for those who need light coverage and/or want a multi-use product. It's nice that these products moisturize and cover, and sometimes even have SPF so you don't need to use as many products on your face. 

I think these moisturizers are great for young makeup wearers who only need to even out skin tone a little, for aging skin as it's light and won't settle into fine lines and wrinkles, and hot summer days when you just want a little coverage but not the whole shebang!

Most recently I've used e.l.f. Studio Tinted Moisturizer SPF which provides nice light coverage, lasts well and stays pretty long (longer with a primer or powder).

- BB or CC Creams -
These are kind of the new kids on the block but I think they can be awesome! They are much like the tinted moisturizers in that they are multi-use products as well. Usually they offer moisture, anti-aging, SPF, primer, etc... read the particular product for it's specific uses. 

I like that they again, cut down on the number of products you have to put on your face. And I like that they usually offer a light to medium coverage so they cover more than the tinted moisturizers. 

These are good for most skin types especially aging, normal, and dry. Those with sensitive skin may want to be careful with all the additional ingredients. Additionally, those with oily skin may need to add a primer or powder to get all-day coverage.

Although, I haven't tried it yet, I have heard wonderful things about IT Cosmetics CC+ Cream Foundation and it's definitely on my to buy list.

- Powder Foundation -
Powders can be good for oily and combination skin, but they are not recommended for dry or aging skin. On dry skin the powder can look very caked on and it can settle into fine lines and wrinkles for those with aging skin. Usually these provide a matte finish.

I like powders the best to set the makeup I've already applied, both my foundation and concealer. A translucent powder is good for setting as it won't add any more coverage. And a tinted powder can add coverage or cover on it's own. Although I do have combination skin, I don't like powder on it's own as I feel my face does end up look "powdery" so I solely use it as a finishing product.

Powders can come compact or loose... and for sheer convenience and anal-ness (I don't think that's a word but watch me use it any way!) I like the compact powders better.

- Mineral Foundations -
So I feel these are either a love it or hate kind of product. Some people are completely on the band wagon... but I am not. I just feel that they don't adhere to my skin properly and I always look powdery. Also I have found that some separate on my face after a few hours so I have areas of no powder and areas with big 'ol globs of it.

But anyway some people really like the coverage they can get and the finish, which I hear is supposed to be more dewey than matte. But yea...

I have used the Physicians Formula Mineral Wear Talc-Free Illuminating Powder and Veil which are better than some and aren't as powdery on the face. And these ones really don't separate... cuz that's just weird people!

So as I said above, I'm sure there's another type out there that I haven't listed but here is my take on foundations. Also, please leave a comment below and tell me of any foundations you like, hate, or have questions about!

Next week, we'll talk about applying foundation and getting the best results!


Saturday, August 9, 2014

Review of Yes To

Woo, I'm back! Sorry all for not posting for a while. I just started a new job, which was stressful in itself, but a good change. Then, of course, I got sick... so any way enough of the excuses I have a post for you today :)

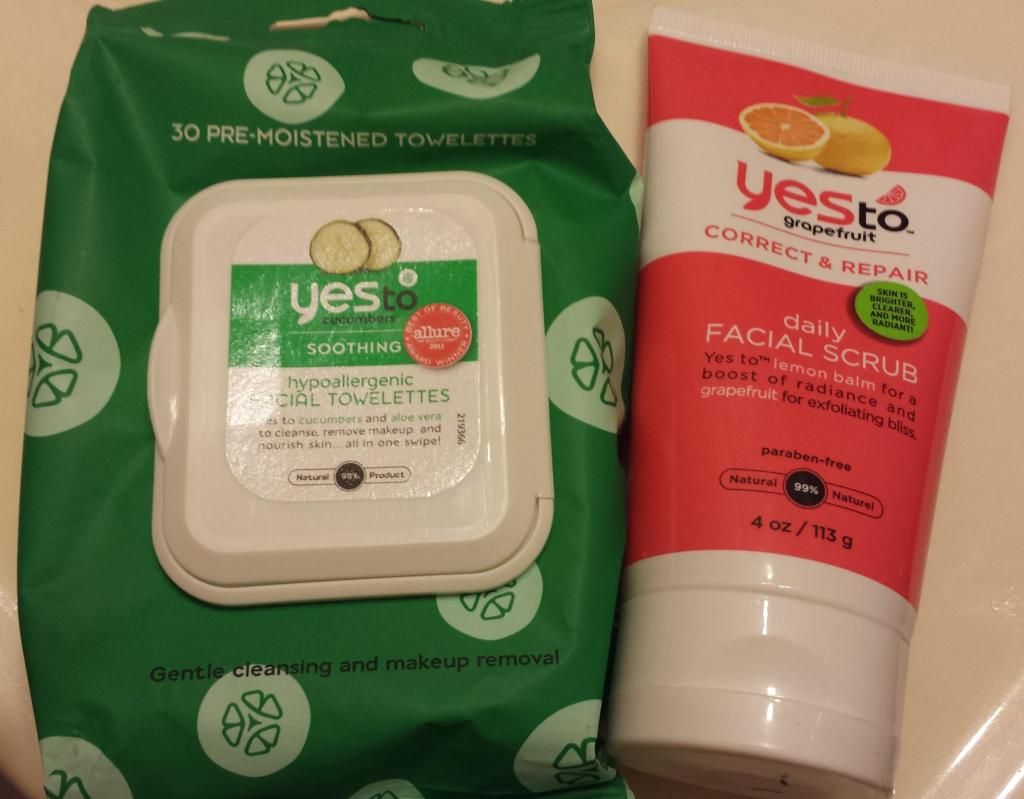
As I'm sure you know by know, I am a big proponent of cruelty free beauty products. I especially love when the products are easy to find and affordable. Well, the Yes To brand is both of these. I have used the Yes To Cucumbers hypoallergenic facial towelettes for a few years now but haven't really tried much else from the brand. But a few weeks ago I saw a recommendation from a beauty vlogger I follow to try the Yes To Grapefruit daily facial scrub.


So I thought I'd share with you my experiences with these products. So here goes!

Yes To Cucumbers hypoallergenic facial towelettes -  Like I said I've used these facial wipes on and off for 2 or 3 years and I just keep going back to them. They take off makeup really well and don't irritate my skin. I also love these for after workouts because they help you feel clean and refreshed and they don't leave your skin all dried out after using them. They're just a nice quality product.

Yes to Grapefruit daily facial scrub - This stuff is awesome! Ok so I've only been using this stuff for 2 weeks now, but that should speak to its spectacular-ness. I don't know if that's a word, but I'm gonna use it anyway. So back to the scrub. I am always on the lookout for products that promise face brightening. I feel that my face can often get dull or look lifeless. However, rarely, if ever do these products work. So when after one use of this product I noticed a difference I was amazed. Not only did my skin look brighter but it did even the tone of my skin and minimized a few breakouts I've been having. The scrub is better than some of the bead versions but not overly harsh and has a nice grapefruit smell. Overall, this was great stuff and I highly recommend it.

I hope these reviews helped you and that next time you're at the store, you'll check this out. I am not sure all the stores that sell this brand but I know that Wal-Mart, Walgreens, and Target. And most of the products are under $10...awesome!