Social Media Icons

Tuesday, September 30, 2014

Fall Shopping List

Now that fall (or autumn, either is great!) is here finally, my favorite time of year, I thought I'd put together a list for you of the beauty, fashion, and other items I'd love to purchase for this autumn!

Fall Shopping List


1 - A Full Coverage Foundation: I find that in the winter months I like a little more coverage and a foundation with some more moisture in it. I've heard great things about this Tarte one!

2  - Dainty Rings: I think dainty rings are good all year round, but especially in fall and winter because you need be able to fit them into gloves and pockets without anything happening. And most of the ones above are reasonably priced on Etsy!

3 - A Warm Plaid Scarf: In my last Style Trials I found a plaid scarf for one of my looks... and I haven't been able to stop thinking about it! It's on the list people! And... now that I think about it, Oscar might have one I can steal :)

4 - A Warm Sweater: Nothing is better in the cooler months than a warm cardigan or sweater you can snuggle up in. mmm...

5 - An Intense Moisturizer: I always go a little heavier with moisturizers and lotions in the winter so it's time to buy now. This Yes To Carrots one looks very moisturizing without being too greasy.

6 - Pumpkin Spice Lattes:  Need I say more?

7 - An Electric Tea Kettle: I actually want this for work, so I can have a warm beverage any day! Plus I love the colors. Blue and White = Amber's Fave!

Well I hope you all enjoyed this insight into my Fall Must-Haves/Wants/Needs! I'm so excited for fall to be here and all the pumpkin picking, cider drinking, decorating, blanket snuggling, and layering that goes along with it.

So I say Hello Fall!

Thursday, September 25, 2014

My Current Obsession: The Body Shop

Sorry that I haven't posted in a while, it's been a rough few weeks. But I am back and ready to chat about this brand that is new to me and that I'm loving!

OMG how did I never know about The Body Shop before. After hearing some reviews from my favorite bloggers, I decided to go check it out. I was amazed and am a little bit in love :)

Now, two trips later here are some of my thoughts on the products I've tried so far. Gotta love a great cruelty-free brand that's accessible and pretty affordable (they have sales all the time!).


First off, let me talk about the scents at the Body Shop. Wow they are fantastic, strong but not overpowering, natural and not chemical smelling, and just smooth. I don't know if that's how you're supposed to describe scents... but I did. So... moving on. My 2 favorite scents are the Shea Butter (who knew that was such a nice scent on it's own?) and Moringa -  I don't really know what kind of flower this is, but it's awesome :)

Below are the products I've tried and loved, and one that I did not.
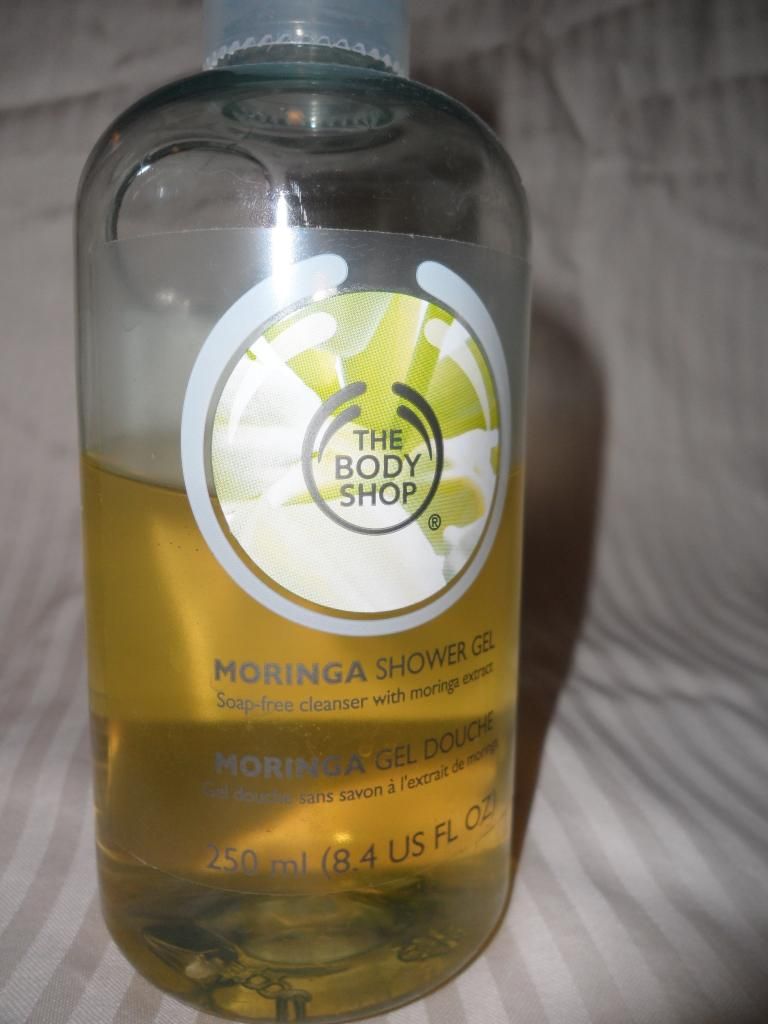

Moringa Shower Gel
Again, this scent is amazing and I feel like I'm showering in a field of heaven flowers. And I feel clean afterwards... so I think a good product.
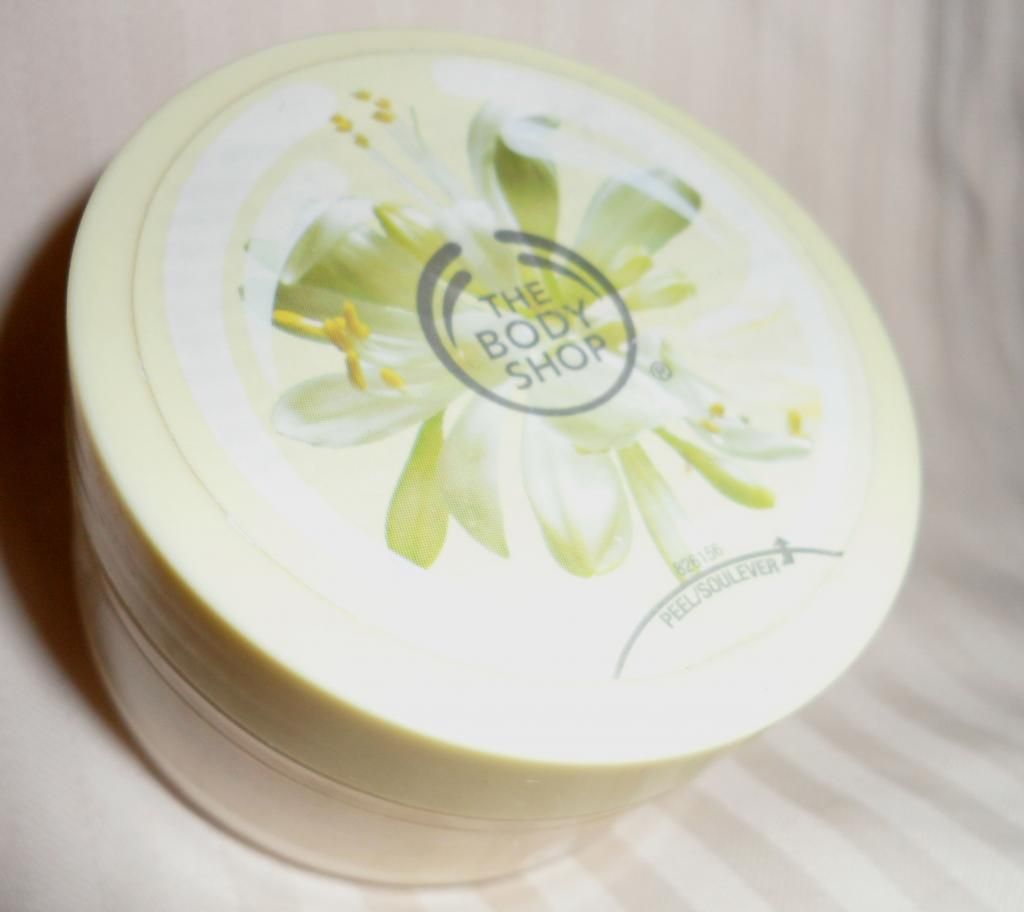

Moringa Body Scrub
Besides the nice scent, this scrub has little chunks of nutshell in it for a pretty strong scrub. It's not oily more like a cream with scrubbing, but it doesn't moisturize. I think I would like this stuff more if I wasn't obsessed with homemade sugar and olive oil scrub I've been using to exfoliate, moisturize, and shave.
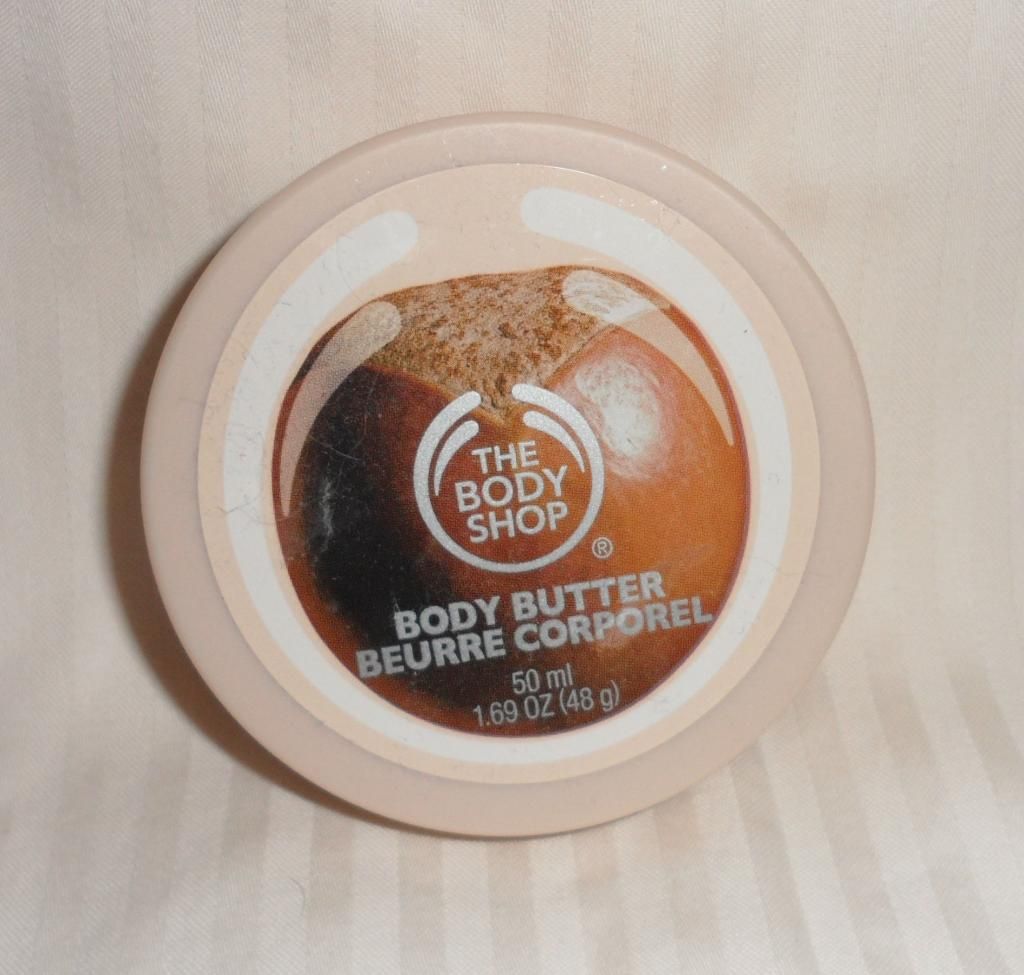

Shea Body Butter
I don't know what it is about this scent, but once it's on I just can't stop smelling myself. Oscar thinks I'm crazy but it just makes me smell so good! This is very moisturizing, soaks in quickly, and leaves my skin so soft and quenched. I loved it so much that I bought the lotion and lip butter versions of it!

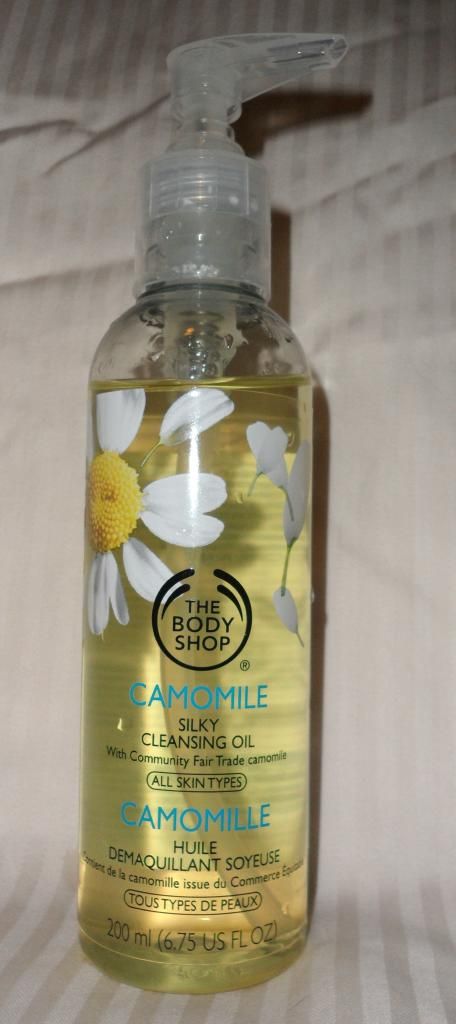
Chamomile Silky Cleansing Oil
I heard some YouTubers and Bloggers raving about this stuff and since I was looking for an alternative to face wipes I thought I would give it a try. I was skeptical in the store because I have combination skin and wasn't sure about putting oil all over my face. But I decided to give it a go and I'm so glad I did!

I take a pump of this and massage it into my face and my eyes and it starts to dissolve all your makeup. It's really pretty cool. Then once I feel like I've got it all I'll rinse it off with water. And my face feels clean and makeup free afterwards. But, because I don't want to leave the oil on my face I do a real cleanse afterward.


Tea Tree Skin Clearing Facial
I've been having some breakouts and issues with my skin in the last few years and Tea Tree Oil has been my saving grace. I thought this cleanser would be another way for me to continue using the oil in another way. I haven't noticed a drastic change in my skin from this, but it doesn't make me feel clean after using and my blemishes have lightened and cleared a little.


Seaweed Mattifying Moisture Lotion SPF 15
I'm always down for using fewer products and simplifying my beauty routine so I thought this product would be perfect. I think it absorbs really quickly and is a great base for makeup and keeps my skin moisturized without feeling too heavy. The only downside of this product is that I don't think it makes my skin matte at all. But other than that it's a great product.

Seaweed Ionic Clay Mask
I first tried a sample of this mask and it was an odd experience. I applied the clay all over my face and let it completely dry per the directions. Then I used a washcloth to wipe it off my face. When I looked in the mirror right after removing it I was disappointed because I didn't see a difference. Then when I looked again 10, 20 minutes, and an hour later I noticed my skin getting brighter and my pores smaller. Then the next morning I thought my skin had a beautiful youthful glow, smaller pores, and a smoother texture. It was so noticeable that Oscar even commented. And that never happens. So of course I went out and bought the full size :)

And then there's the one flop, because it can't all be good!


Chamomile Gentle Eye Make-Up Remover
I really wanted to like this product as the cleansing oil is so good. But unfortunately, it did not work out for me. I put a few drops on a cotton ball and rub it on my eyes to remove leftover mascara and eyeliner. And once I put it on my eyes, they started to burn. It just irritates my eyes something awful and although it did a fairly good job of removing my eye makeup, I think I'll stick with vaseline.

I hope this post was helpful and that you'll maybe check out some Body Shop products for yourself. Please comment below if you do.

Also, please remember these reviews are my own and I have not been sponsored by the Body Shop. I sincerely enjoy this brand and it's products.

Saturday, September 13, 2014

Fun With Makeup on Saturday

Having fun with some new makeup today.
Tried out my new Too Faced Primed and Poreless powder and Absolutely Flawless Flexible Coverage concealer. Also tried a sample of It Cosmetics CC+ Cream. All 3 products worked awesomely! And even though the CC cream was a little too dark I am definitely gonna have to get me some of this. The coverage was amazing!
Let me know if you want to know anymore about these products or this look! Have a great weekend :)

Sunday, September 7, 2014

Foundation 101: Applying your Foundation

The 3rd installment is here! We've talked about analyzing your skin and types of foundation and now we'll put it together and talk about how to apply foundation!

So in this post I'm going to talk about methods that I've tried and what works for me. But as always try out different techniques and find what works best for you.

I will be talking about applying liquid foundation as that's the type of foundation that works the best for me. I am using the IT-O2 Ultra Repair Liquid Oxygen Foundation.

Ok, so let's get real for a second, there is really only one hard and fast rule to foundation; just one thing to remember no matter which method you choose. And that is to BLEND, BLEND, BLEND!

The type of foundation, method of application, and your skin type may determine the amount you need to blend, but always remember to blend into your hairline, neck, ears... basically everywhere.

Ok I'm off my soap box, let's get started.

First, apply a dollop of foundation to the back of your hand. This way you can control the amount of foundation you're using and add more if needed.


Then, I like to apply little dots of foundation all around my face. This helps me ensure even coverage and I feel I can control the coverage a little better. And yes I know this picture is funny looking, but don't knock it to you try it!


Now, the important part... how do we blend this all in?

Fingers - One of the best "tools" in your makeup arsenal. using your fingers to blend in foundation can give you a really light natural coverage. This method also allows you to stretch your product further as your fingers aren't absorbing any of the product.

Sponge - Sponges are great at applying foundation with more coverage and for blending! Also, depending on the type of sponge, they can also be disposable so you may not have to deal with the cleaning. Try dampening the sponge for more blending power :)

Brushes - My all time favorite! There are multiple brushes out there for different outcomes, but brushes in general can be great for blending, applying more coverage, and a nice natural look.

Here are my take on the types of brushes I've tried:
  • Foundation Brush - This is the typical foundation brush sold in stores that is flat and usually tan colored.   I don't like these brushes very much, I've tried them and they can be ok, but I find it very hard to blend with this brush and find that my foundation will be streaky. This could be ok to apply if you then blended with another brush.
  • Stippling Brush - This is a dual fiber brush that is often black and white (see below) with a flat top. And essentially you dip the brush in your foundation and then pat it into your skin. This brush is great for full coverage in those areas you may need to cover a little more. Again, these aren't great for blending, so you may want to blend after.
  • Kabuki Brush - This is my favorite, especially a flat kabuki (pictured below). I like to use the flat top to stipple on foundation and then blend out everywhere else with circular motions.
ecotools Kabuki Buffing Brush and elf Studio Stipple Brush
Remember, once you apply your first layer of foundation, you can always do a second layer wherever you think you need more coverage. 

Also, remember that foundation can only cover so much! That's why they invented concealer, turn to concealer for spots and redness to avoid cakey looking foundation.

Overall, with the right product and tools you can get a great flawless (or less-flawed) looking face!

Below is my foundation-ed face! I hope this has helped you all! Please let me know what you've thought of this blog series.